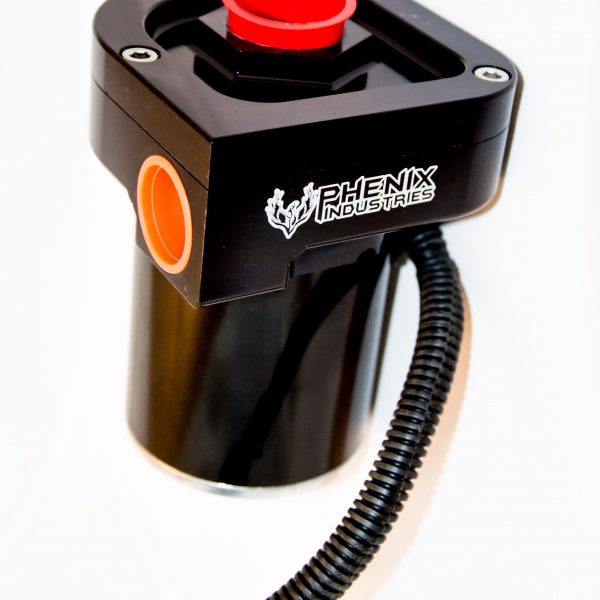
Description
Pump Mounting Kit Instructions
These instructions apply to the Pump Mounting Kit only. See separate Pump Installation instructions for proper mounting orientation, electrical requirements, etc. Read these instructions completely before proceeding.
Step 1) Select a Mounting Bracket orientation. Review the diagrams below and select the bracket orientation most suitable to your application.


Keep in mind your orientation may be vertical instead of the horizontal orientation shown above.
Step 2) Attach the Mounting Bracket to the vehicle. The bracket can be formed as required to fit your vehicle, but be careful to keep the area near the pump as flat as possible. Once you have selected a mounting location and orientation, the bracket can be welded or bolted to the vehicle.
Step 3) Hold the pump in position on the bracket and note where the mounting holes line up with the two existing Cover screws. Remove ONLY those two Allen screws, leaving one screw undisturbed. Place the pump against the Mounting Bracket and install the two Hex Head screws (supplied with the Mounting Kit) through the bracket and into the pump where the Allen screws were removed. Tighten the Hex Head screws to approximately 12 Lb-Ft.
Caution:
Aluminum fittings are designed for typical automotive cooling systems. The maximum recommended working pressure is 50 psi. They may physically fit into higher pressure systems, but are not recommended for them.
O-Ring Boss Fittings:
O-Ring Boss fittings use an integral rubber o-ring to seal the fitting to the housing. No special sealing compound is required. However, it is highly recommended that the o-ring be coated with clear petroleum jelly (Vaseline™) before installation. This will help the seal “slide” into position easier.
O-Ring Boss fittings do not need to be extra-tight to seal. Tighten the fitting until the nut part of the fitting is in full contact with the housing. Over-torquing will not make the fitting seal better.
National Pipe Taper Fittings:
In order to give a leak-free joint, it is important with tapered fittings to get proper thread engagement without over-torquing. It is highly recommended that the male pipe threads be coated with a non-hardening pipe thread lubricant/sealant prior to installation. Such compounds are available at most hardware/lumber stores. Those lubricants/sealants with Teflon® give best results. Make sure the lubricant/sealant is suitable for aluminum.
37º Flare Fittings:
Flared fittings are designed to seal with proper torque applied to the female nut. Excessive torque will only result in fitting distortion, which results in a leaky joint. The best method is to tighten the nut to the minimum required to produce a physically tight joint – no more.


